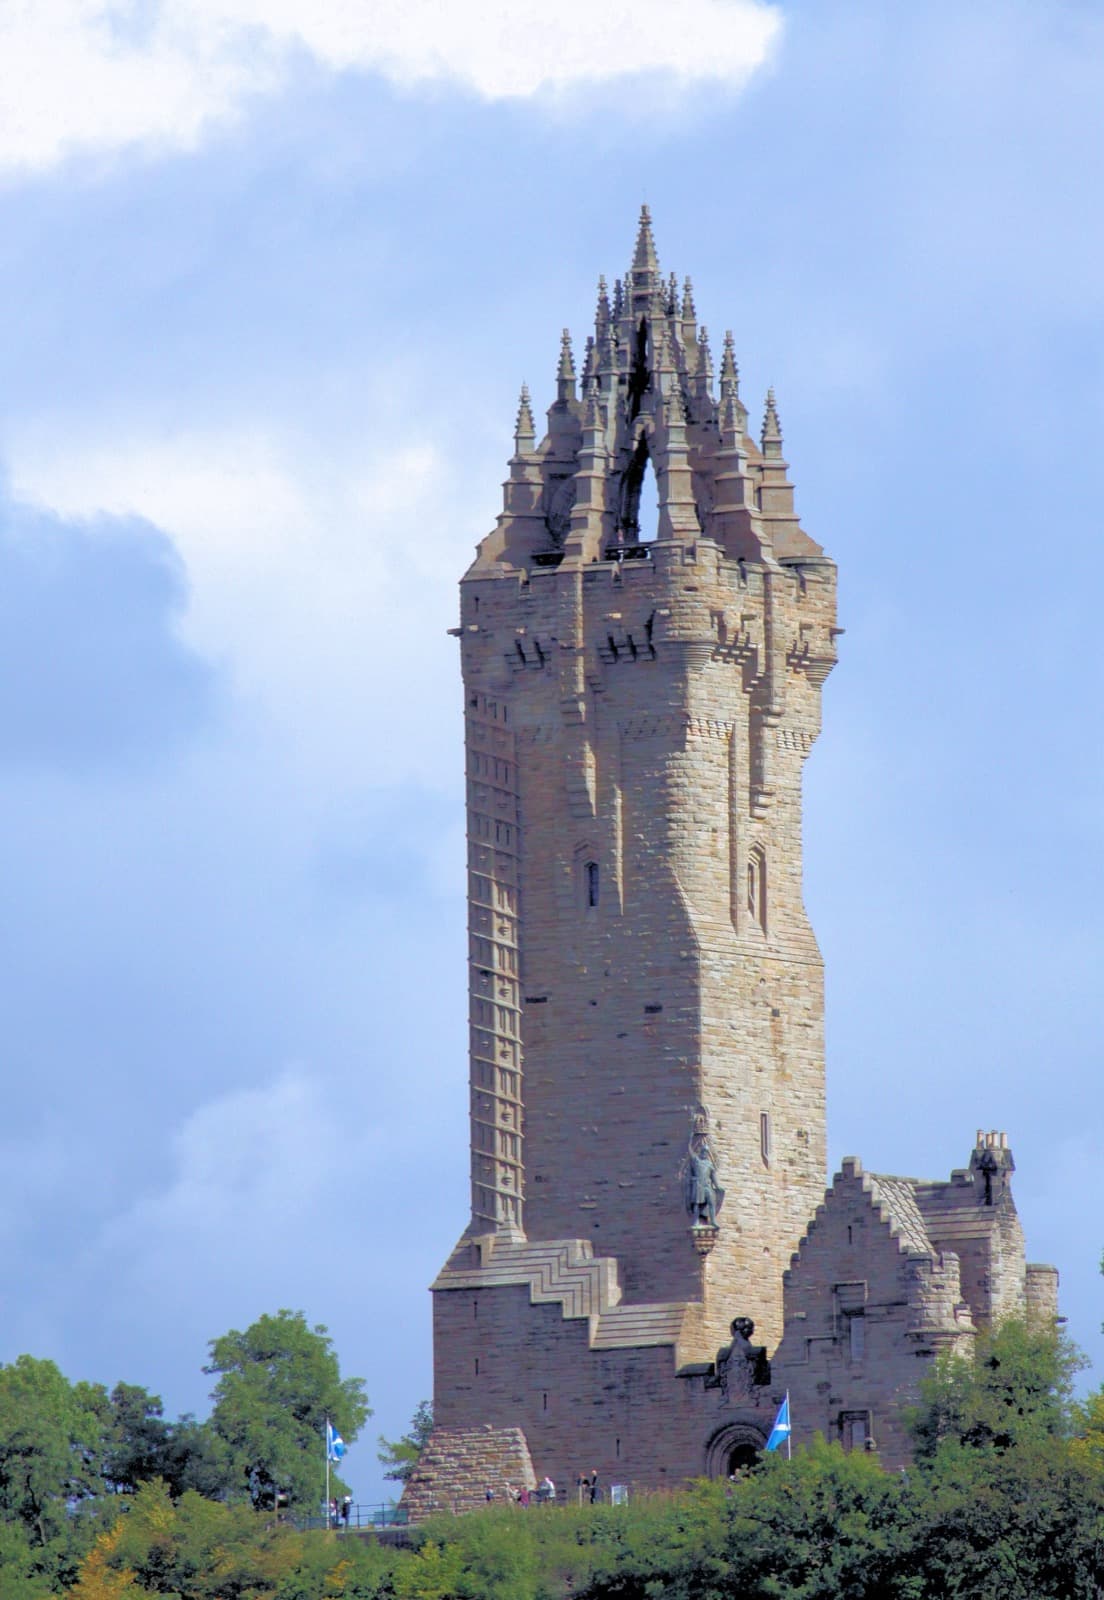
A dispersed loop through the ground where Scotland's fate turned twice in a generation, linking the crossing Wallace held in twelve ninety-seven and the field where Bruce broke an English army in thirteen fourteen, told from the record rather than the myth of the films.
Start · Stirling Old Bridge: The Crossing the War Was Fought to Hold
DirectionsStops
- 1
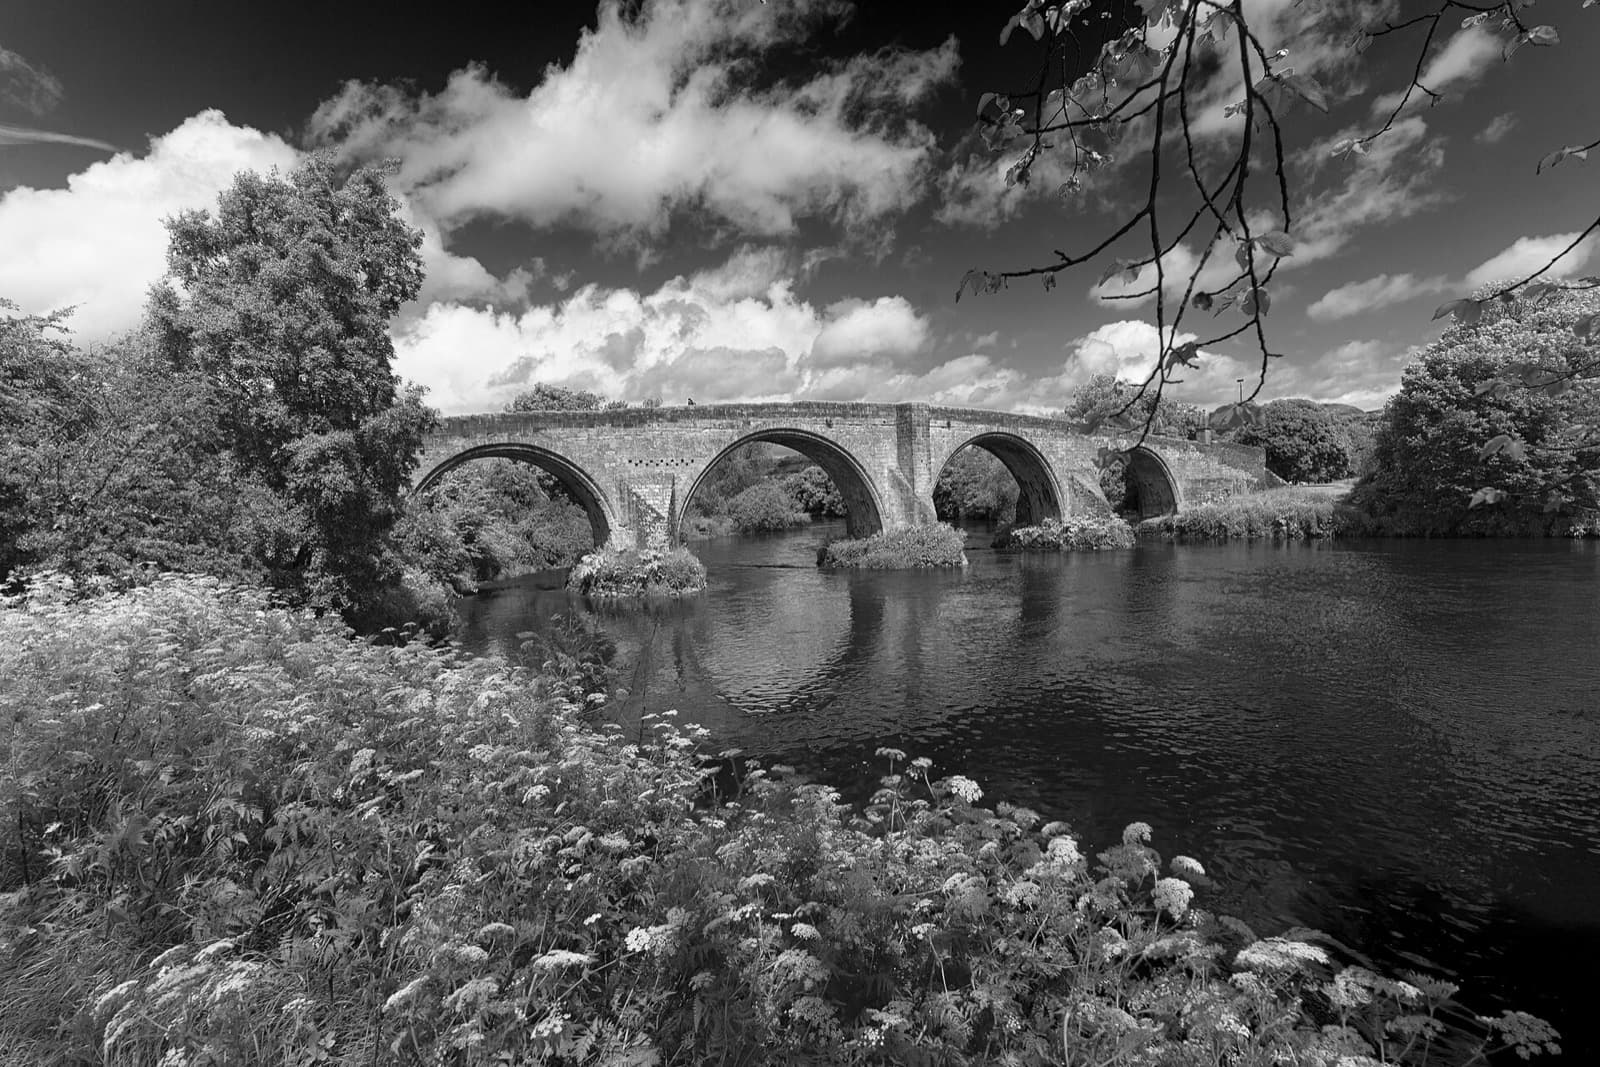
Stirling Old Bridge: The Crossing the War Was Fought to Hold
A stone bridge of about fifteen hundred over the River Forth, standing close to the vanished wooden crossing where Wallace and Moray won the first great Scottish victory of the Wars of Independence.
- 2
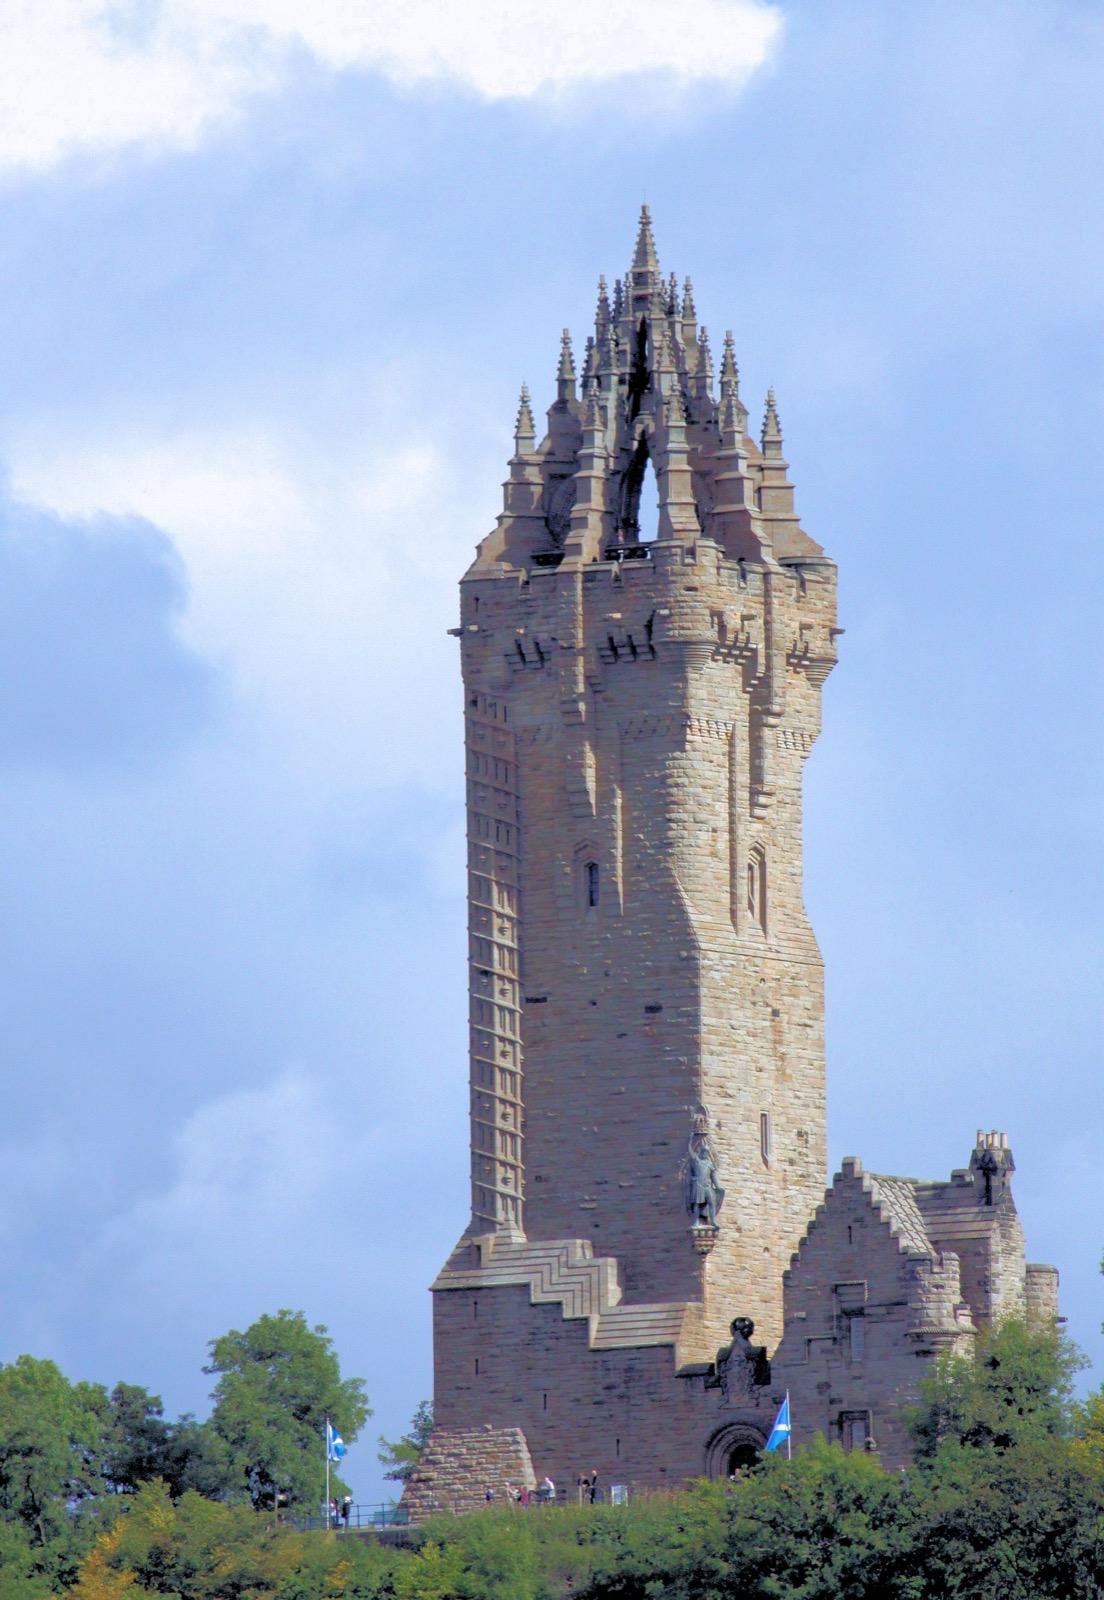
The National Wallace Monument: The Tower on Abbey Craig
A sixty-seven metre Victorian Gothic tower raised to William Wallace on Abbey Craig in eighteen sixty-nine, and home to the celebrated but disputed Wallace Sword.
- 3
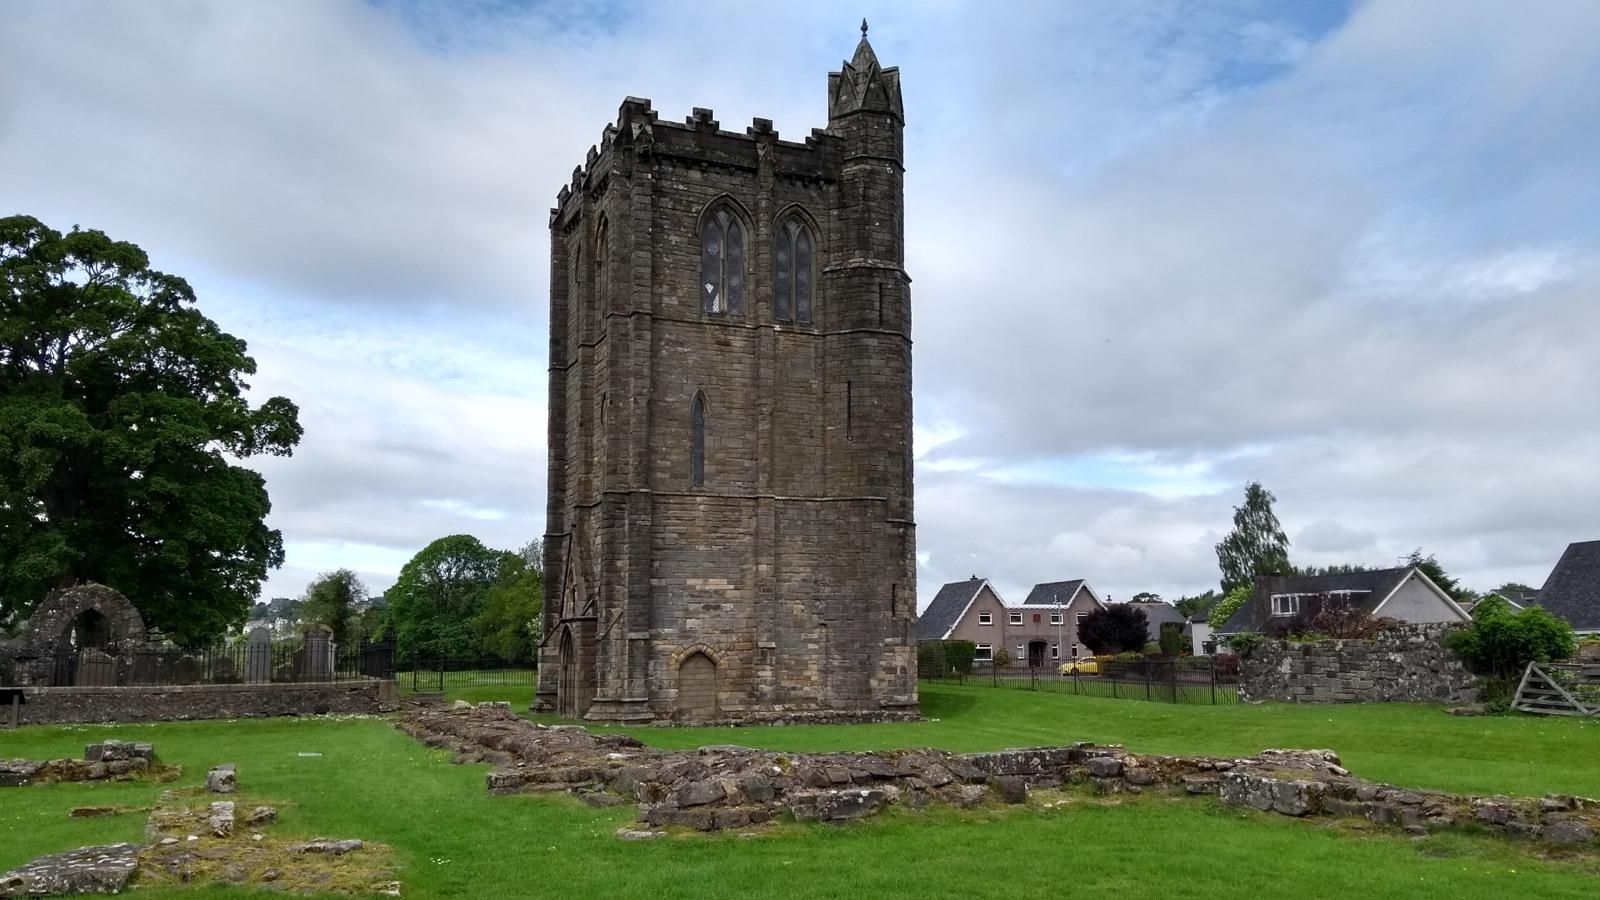
Cambuskenneth Abbey: The Lone Tower Where a Parliament Met
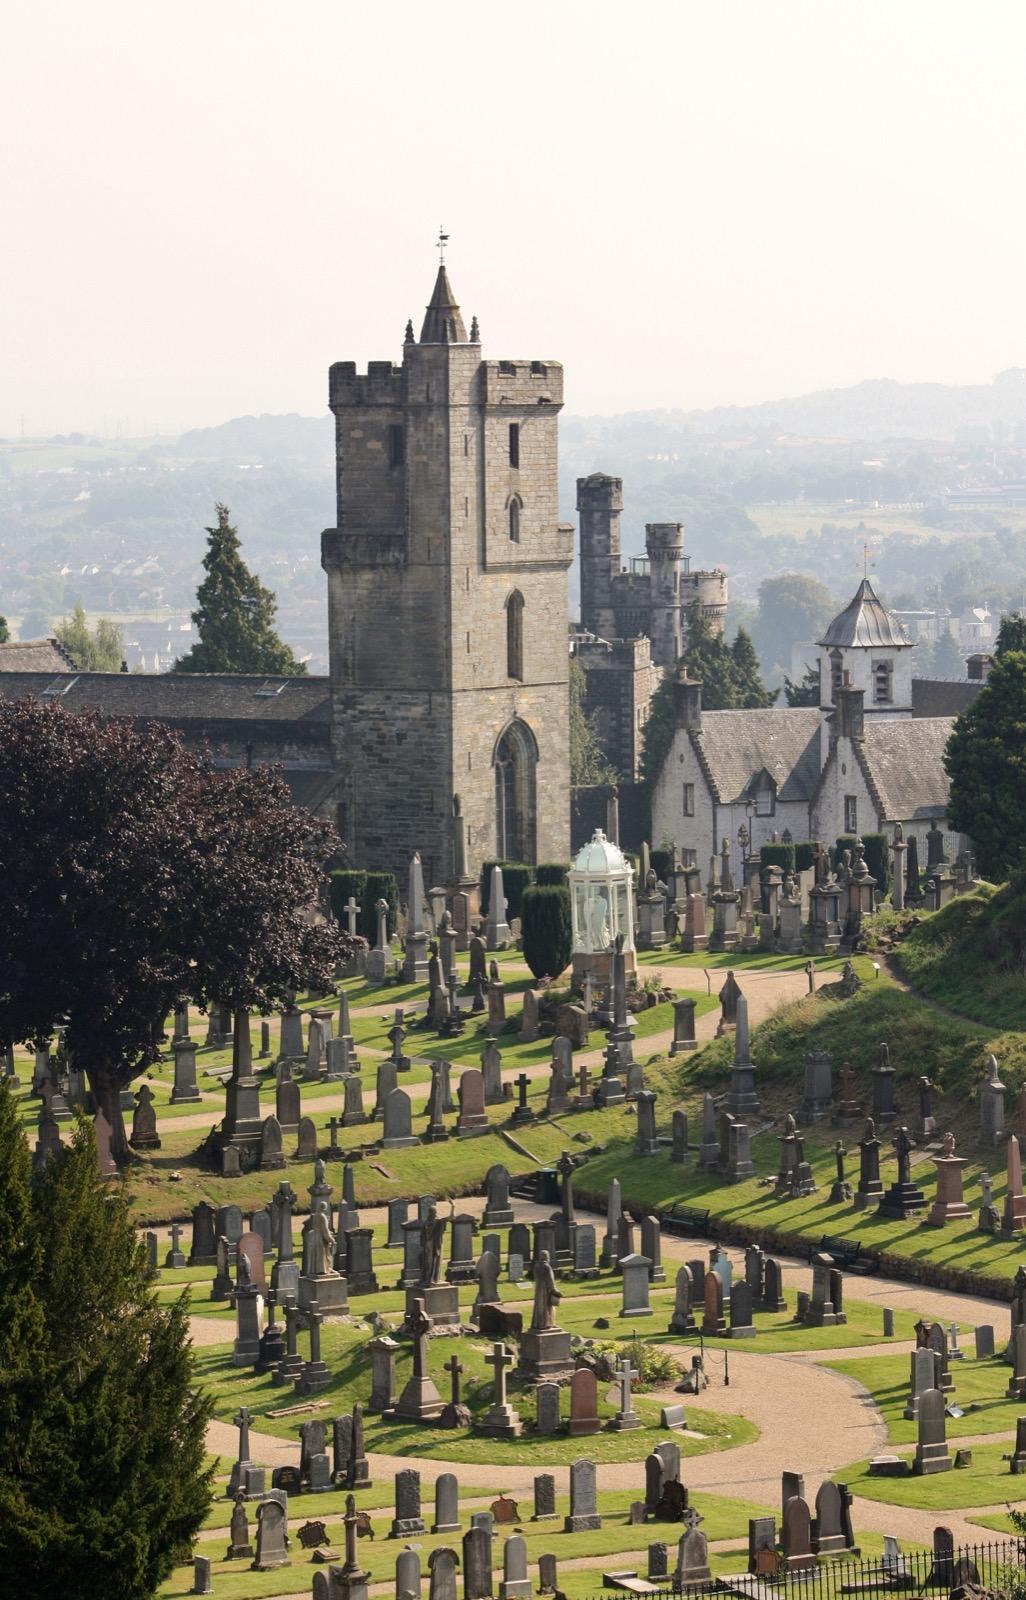
The ruin of a wealthy Augustinian abbey founded around eleven forty by David the First, whose rare free-standing medieval bell tower still stands over the grave of a king.
- 4
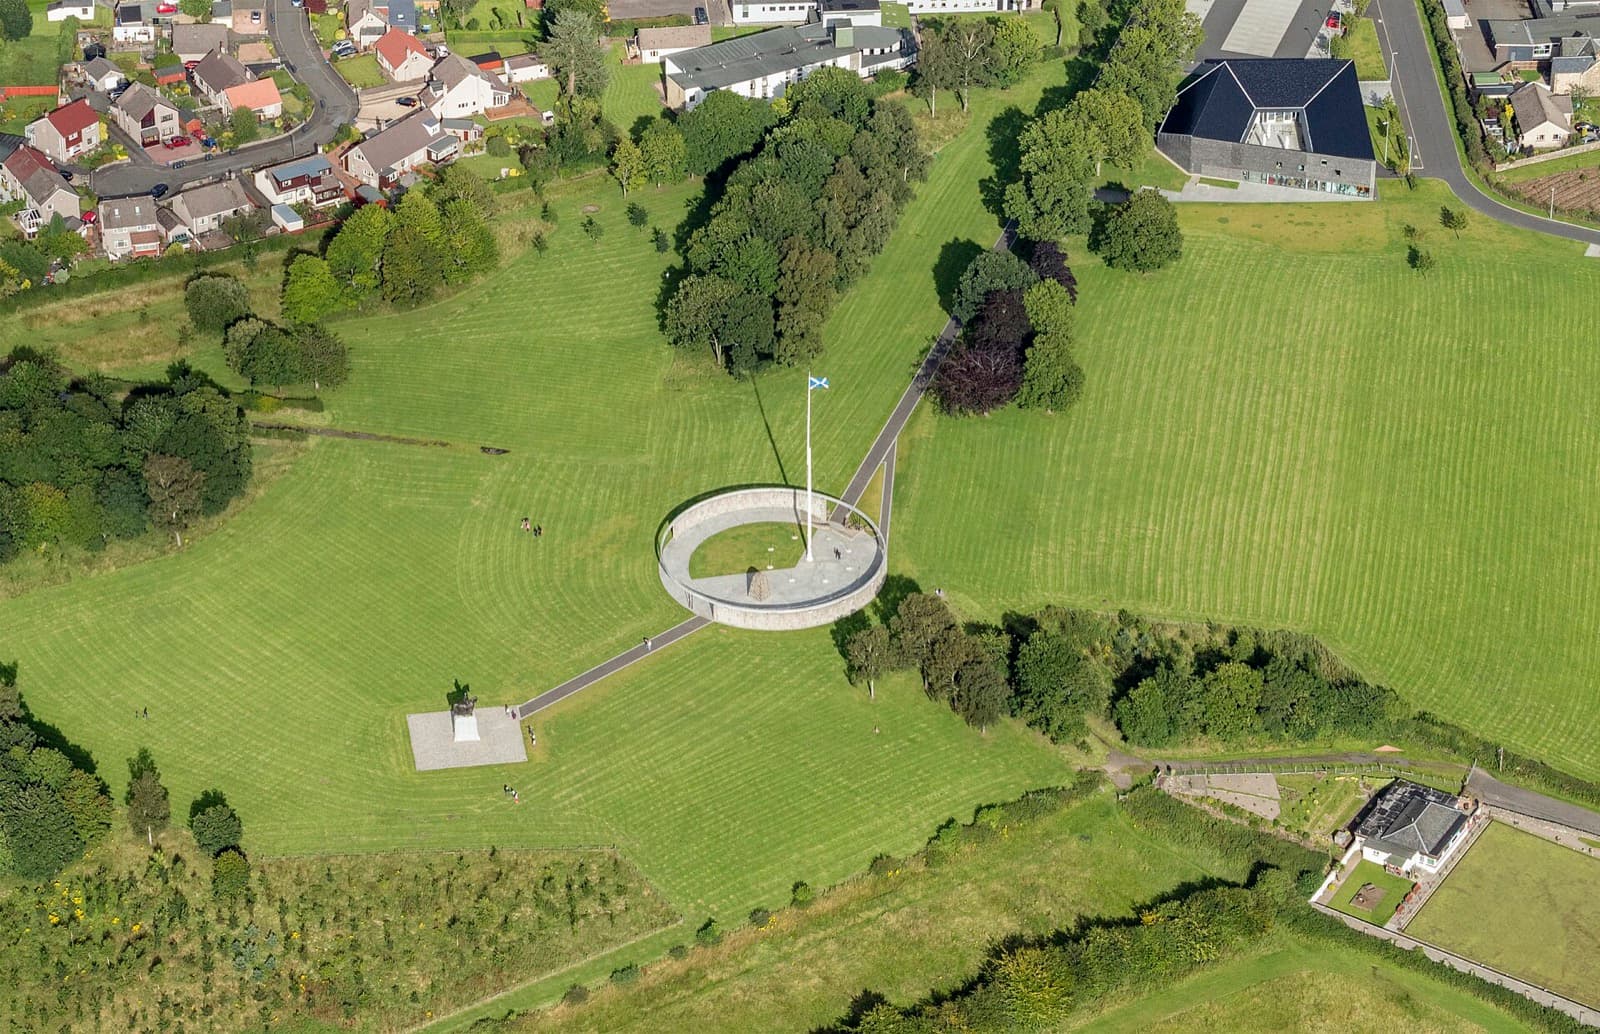
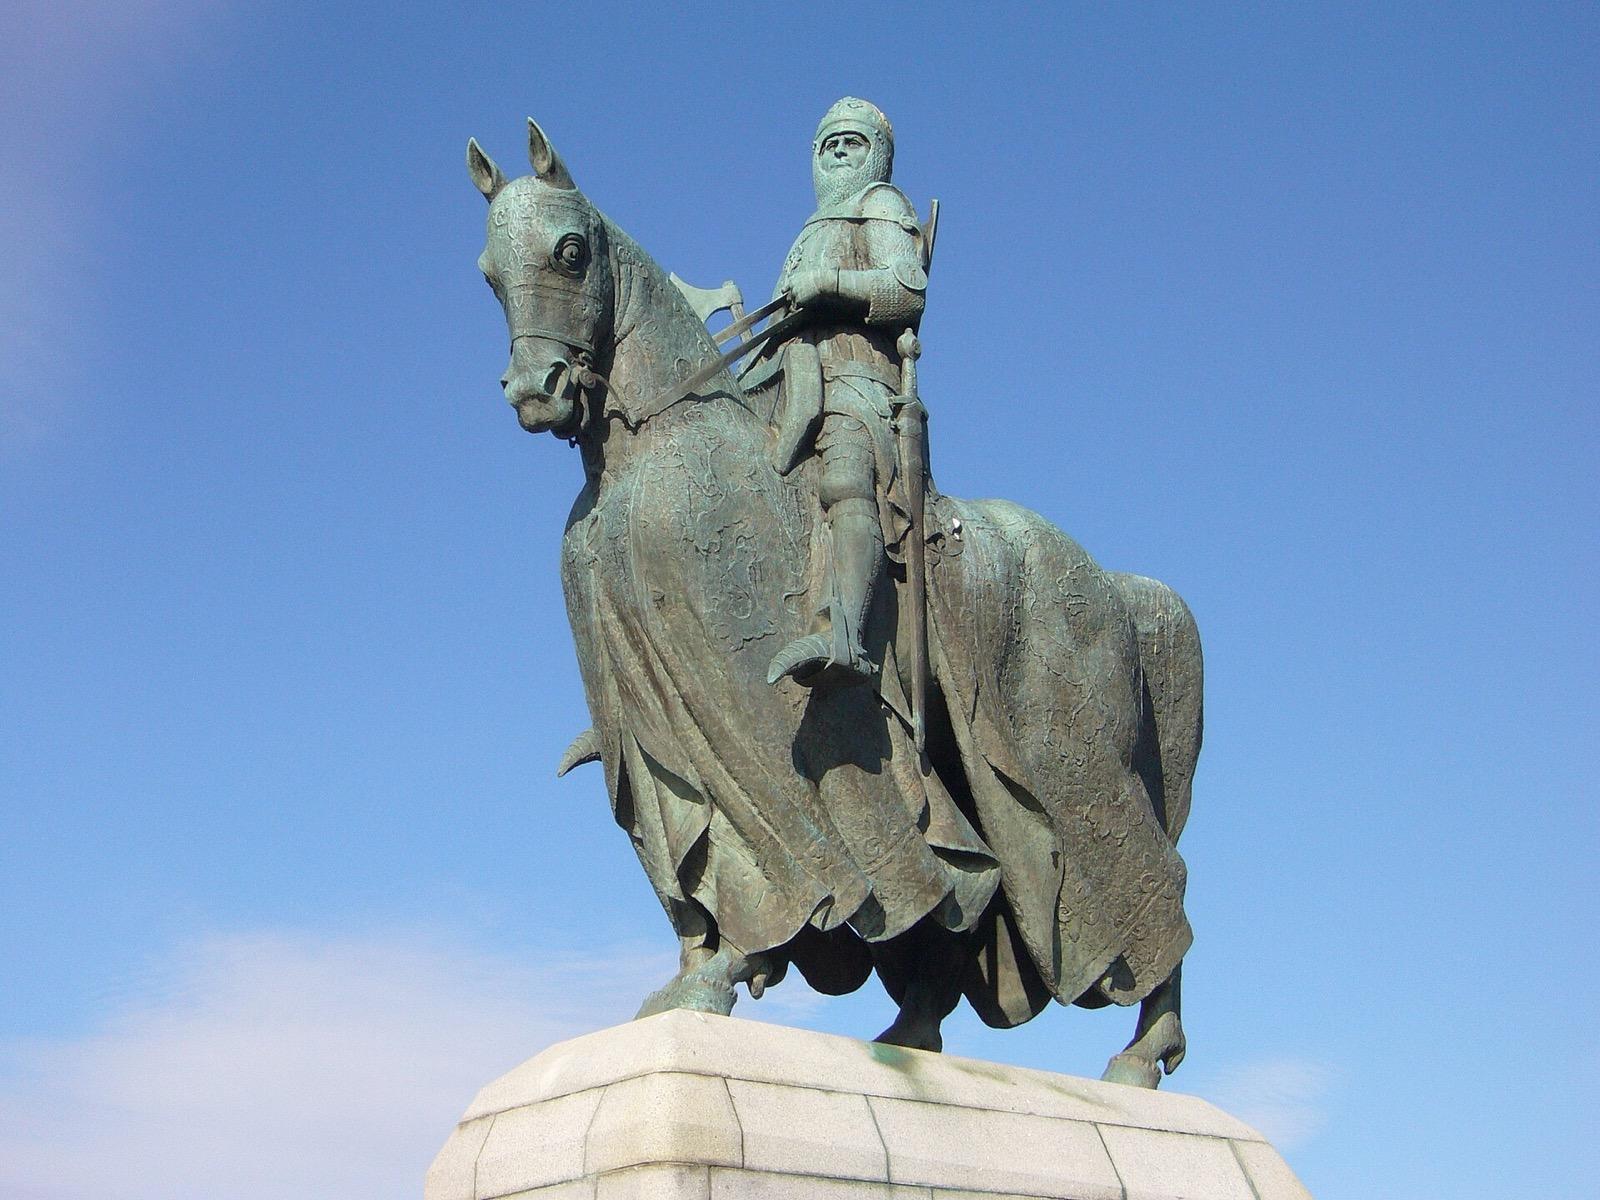
Bannockburn: The Field Where Bruce Broke an English Army
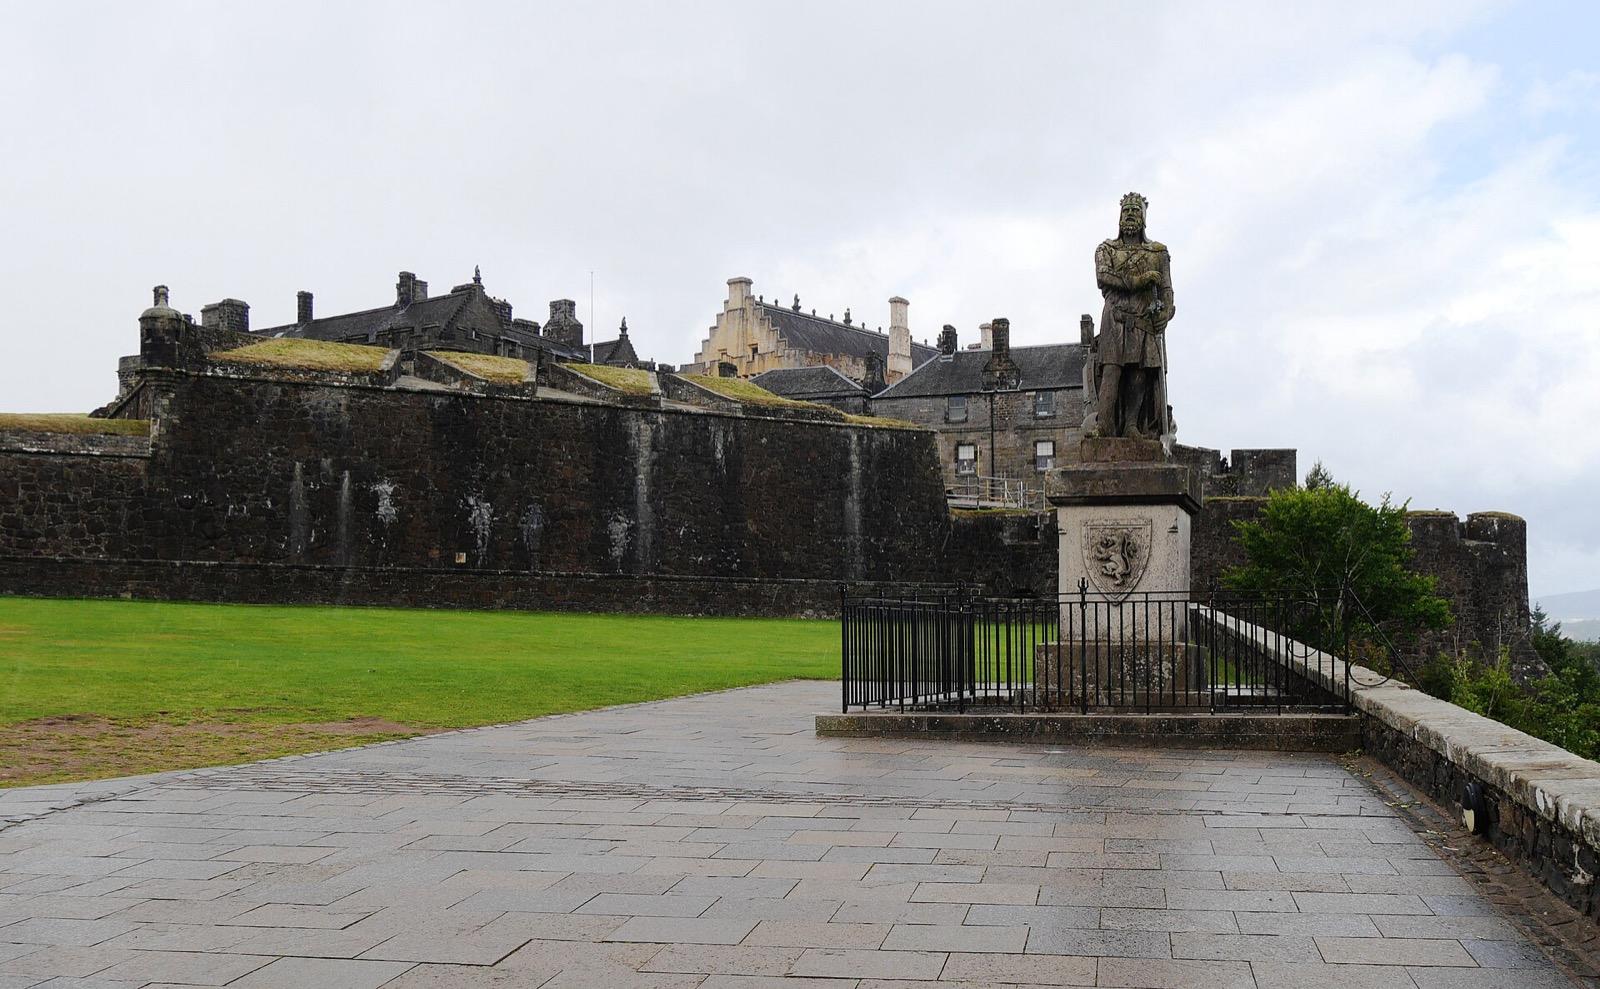
The commemorated site of the Battle of Bannockburn, marked by a nineteen sixty-two rotunda and a bronze equestrian Bruce, where in thirteen fourteen Robert the First won the decisive victory of the Wars of Independence.
- 5
The Battle of Bannockburn Centre: History Against the Legend
The National Trust for Scotland's visitor centre beside the battlefield, which uses research to show what is known and uncertain about the battle and sets the historical Bruce and Wallace apart from their film legend.
Details
Best Time to Visit
Late spring through early autumn, from about May to September, gives the longest daylight and the best chance of clear views from Abbey Craig over the Forth and the battlefields, and Cambuskenneth Abbey is generally open seasonally in these months. A weekday morning start lets you move through the dispersed loop ahead of coach parties and reach the Bannockburn centre before its busiest afternoon slots.
Pro Tips
- •This is a dispersed loop, so plan your transport before you set out: a car makes the short hops between the Old Bridge, the Wallace Monument, Cambuskenneth Abbey and Bannockburn easy, while local buses connect the main sites if you are not driving.
- •Check opening times in advance, as Cambuskenneth Abbey is open seasonally and the Bannockburn centre keeps set daily hours; the outdoor monuments at Bannockburn and the Old Bridge are always accessible.
- •Entry to the Bannockburn site, centre, shop and cafe is free, but the timed indoor Bannockburn experience is a separate paid ticket best pre-booked, and it is free for National Trust for Scotland members.
- •The National Wallace Monument charges admission to climb the tower, though the approach up Abbey Craig and the long views are free, so decide in advance whether you want the interior and its disputed sword.
- •Give yourself time to linger; the reward of moving at your own pace is reading a battlefield or an abbey headstone in silence, with no coach timetable pulling you onward.
- •Bring water and a snack, since the sites are spread out and you will not always be near a cafe between the Old Bridge and the Bannockburn centre.
Safety & Precautions
- •The loop is dispersed and its sites are too far apart to walk between, so you will need to drive or take short local buses, and you should plan those legs rather than attempt to cover the distance on foot.
- •The climb up Abbey Craig to the Wallace Monument is steep and can be slippery in wet weather, so wear sturdy shoes and take care on the path and any tower steps.
- •Scottish weather off the Forth changes quickly even in summer, so carry a waterproof and dress in layers, as much of this tour is outdoors on exposed ground.
- •Some sites charge entry in pounds, notably the Wallace Monument tower and the timed Bannockburn experience, so carry a card or cash and keep valuables discreet in busier areas.
Travel advisory: Exercise Increased Caution (Level 2).
Gallery
Related Reading
Go deeper on what you'll see, hear, and walk through.
Overview
Best Self-Guided Walking Tours in Stirling (2026)
3 min
Overview
One Day in Stirling: A Walkable Castle-to-Battlefield Itinerary
8 min
Overview
Stirling Travel Guide: Days, Transport, Fees, and Safety
7 min
Thematic
Best History Walking Tours in Stirling (2026)
2 min
Thematic
Stirling: The Rock That Held Scotland
8 min
Companion
The Wallace Monument and the Ground Two Battles Were Fought to Hold
7 min
Deep dive
Bannockburn Battlefield and Monuments: The Field Where Bruce Broke an English Army
6 min
Read
What to Eat in Stirling: A Local Food Guide
7 min
Read the walk
The full story of Wallace & Bannockburn: The Wars of Independence, in words. Prefer to listen? Play it narrated, from home or on location.
Introduction
This is a dispersed heritage loop through Stirling, Scotland, that follows the two battles that decided the Wars of Scottish Independence. Its five stops are too far apart to walk between, so you move by short drives or local buses from one site to the next and walk once you arrive at each, reading a battlefield or an abbey headstone in your own silence. Plan on about three to four hours and roughly twelve kilometres of travel across the loop, though the sites reward as long as you want to linger. There is no group here, no coach timetable, and no tip expected, only your own pace across ground the whole war was fought to hold. The loop opens at the medieval Old Bridge over the River Forth, close to where William Wallace and Andrew Moray destroyed an English army in twelve ninety-seven. It rises to the great Victorian tower raised to Wallace on Abbey Craig, then drops to the quiet abbey ruin of Cambuskenneth, where a parliament once met and a king lies buried. It ends south of the town at Bannockburn, where Robert the Bruce won the decisive victory of thirteen fourteen, and at the National Trust for Scotland's visitor centre, which sets the historical Bruce and Wallace apart from their Braveheart legend. Throughout, this tour honours the documented drama of two real victories while marking legend plainly as legend. When you arrive at Stirling Old Bridge, begin with stop one.
1. Stirling Old Bridge: The Crossing the War Was Fought to Hold
The bridge in front of you is not the bridge of the battle, and that is the first thing to hold clearly. This stone crossing of four spans dates from about fifteen hundred, and Historic Environment Scotland lists it as a scheduled monument. It replaced the earlier wooden bridges over the River Forth, including the one on which the Battle of Stirling Bridge was fought. That wooden bridge lay roughly one hundred and eighty yards from where you stand. For more than three hundred years, this was the lowest bridging point of the Forth, and that single fact made it worth an army. On the eleventh of September, twelve ninety-seven, William Wallace and Andrew Moray held the Scottish side against an English army led by John de Warenne, the sixth Earl of Surrey, and Hugh de Cressingham, the treasurer. The English had to file across a narrow wooden bridge broad enough for only two horsemen abreast. The Scots waited. Once about half the English force had crossed, they attacked, trapping those men against a boggy loop of the river with no way back. It was the first major Scottish victory of the Wars of Independence. Cressingham was killed in the fighting. Andrew Moray was mortally wounded and would die within weeks, which is easy to forget in a story that later belonged almost entirely to Wallace. Standing at the water now, the lesson is geography. A river, a single narrow crossing, and the patience to strike at the right moment decided the day. The stone arches you see came later, one of them destroyed in seventeen forty-five and rebuilt, but the ground itself is the witness.
2. The National Wallace Monument: The Tower on Abbey Craig
From the Old Bridge it is a short drive and then a climb up Abbey Craig to reach this tower, which rises sixty-seven metres above the hill. The National Wallace Monument is Victorian Gothic sandstone, designed by the architect John Thomas Rochead. Its foundation stone was laid in eighteen sixty-one, it opened in eighteen sixty-nine, and it cost about eighteen thousand pounds, raised largely by public subscription. That last detail matters, because this tower is as much a monument to nineteenth-century national feeling as to a thirteenth-century man. By tradition, Wallace watched the English army from this craig before the battle of twelve ninety-seven, though that is tradition rather than documented fact, and it is fair to say so. Inside, the monument displays the so-called Wallace Sword, a great blade over one and a half metres long. Here I want to be careful with you, because this is where history rises into legend. Historians dispute that the sword ever belonged to Wallace. Doctor David Caldwell, a former president of the Society of Antiquaries of Scotland, said plainly that it had nothing to do with him. Its association with Wallace traces only to about eighteen oh three, and the blade itself appears to have been forged from more than one piece. The Victorians who built this tower wanted a relic, and a relic is what tradition gave them. None of that drains the wonder from the real Wallace. It simply asks you to hold the symbol and the record apart. From up here the long views open over the Forth and toward the battlefields, and you can read the whole geography of the war in a single sweep.
3. Cambuskenneth Abbey: The Lone Tower Where a Parliament Met
A short drive brings you to a quiet loop of the River Forth and the ruin of Cambuskenneth Abbey. After the noise of two battlefields, this is the still turn of the loop. King David the First founded the abbey around eleven forty for Augustinian canons, and in its day it was…
Full narration for this stop unlocks with the tour.
4. Bannockburn: The Field Where Bruce Broke an English Army
South of the town, a short drive brings you to the commemorated field of Bannockburn, the climax of this loop. Here, over two days on the twenty-third and twenty-fourth of June, thirteen fourteen, King Robert the First, whom we know as Robert the Bruce, defeated the much larger…
Full narration for this stop unlocks with the tour.
5. The Battle of Bannockburn Centre: History Against the Legend
A short walk across the same site brings you to the Battle of Bannockburn visitor centre, run by the National Trust for Scotland, and this is where the loop resolves. The centre tells the story of the battle and the wider Wars of Independence, and it does something I admire: it…
Full narration for this stop unlocks with the tour.