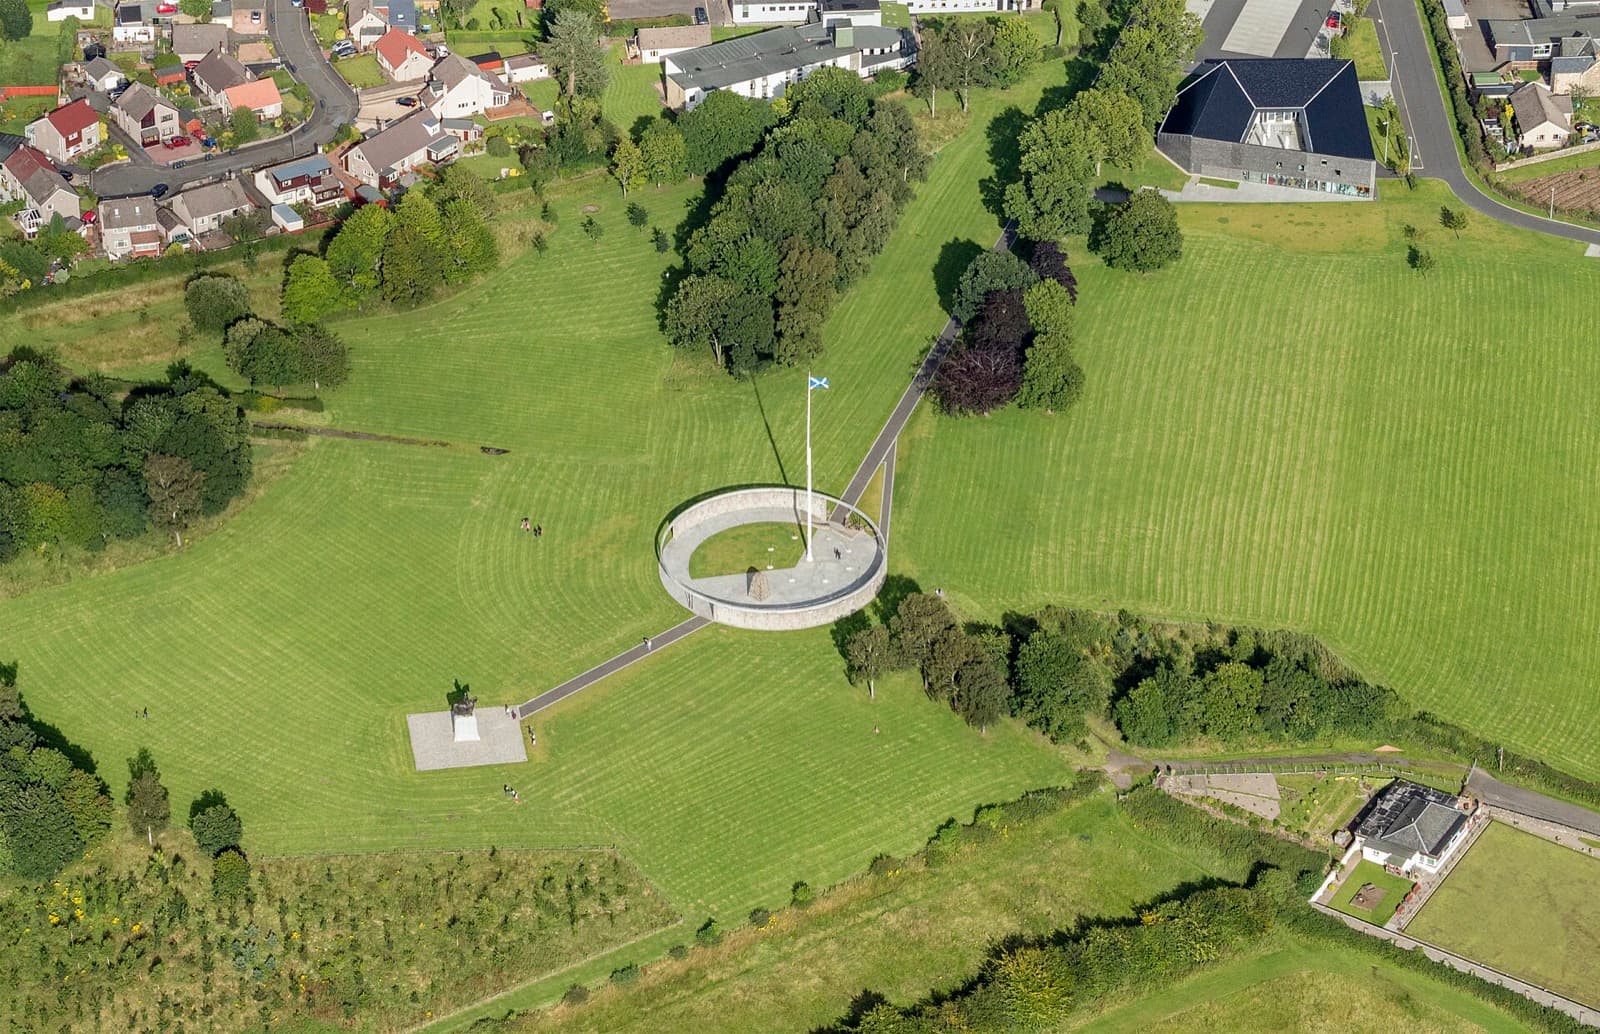
Stand on the commemorated field at Bannockburn and you are looking at ground that decided a war, marked by a concrete rotunda from 1962 and a bronze horseman raised in 1964, over two days in June 1314 when Robert the Bruce broke a much larger English army. That is the plain shape of the place: a real, decisive medieval battle, remembered by modern monuments, on land whose exact boundaries historians still argue over. Understanding Bannockburn Battlefield and Monuments means holding those three things together at once, the certain victory, the twentieth-century memorials, and the honest uncertainty about the ground itself.
What actually happened here
The Battle of Bannockburn was fought on the twenty-third and twenty-fourth of June, 1314, between King Robert the First of Scotland, the man remembered as Robert the Bruce, and King Edward the Second of England. The English force was the larger of the two. Bruce won anyway, and the win was decisive enough to count as a major turning point in the Wars of Scottish Independence, the long struggle that would eventually end in 1328 with a treaty that restored Scotland's independence in law, the Treaty of Edinburgh and Northampton.
One episode from the battle is well attested, and it is worth carrying with you because so much else is contested. On the first day, Bruce killed the English knight Henry de Bohun in single combat. Beyond that single duel, be careful with the details, especially the numbers. The casualty figures for Bannockburn vary widely between medieval sources and are genuinely disputed. This is not a place where you can quote a clean body count and trust it. The safest, most honest summary is the one the record supports: a smaller Scottish army under Bruce defeated a larger English one under Edward the Second, over two days, and the consequences ran on for more than a decade.
The monuments are modern, and that is the point
Hear a stop from this walk
The Battle of Bannockburn Centre: History Against the Legend
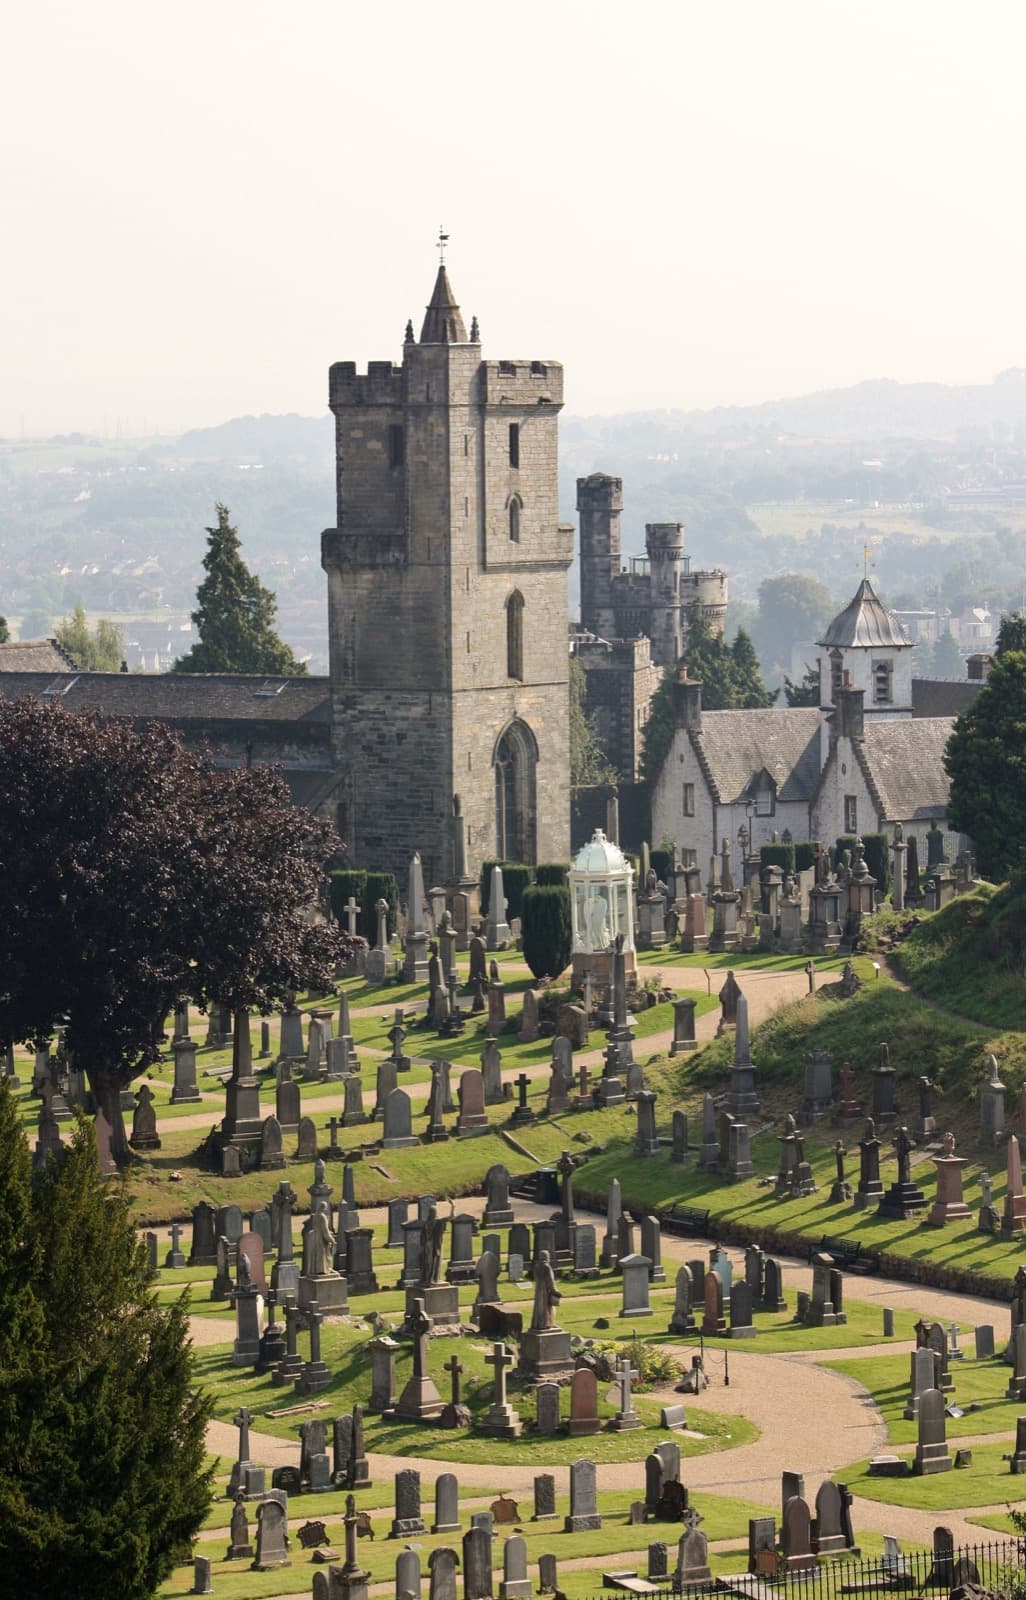
Nothing you see marking the battle is medieval. The Rotunda, a circular concrete memorial that frames the commemorative space, was raised in 1962. Beside it stands the great bronze equestrian statue of Bruce, the image most people picture when they think of this place, sculpted by Charles d'Orville Pilkington Jackson and unveiled in 1964 for the six hundred and fiftieth anniversary of the battle.
That statue carries one detail that startles most visitors. Its head was not imagined. It was modelled on measurements taken from Bruce's own skull, which had been uncovered at Dunfermline Abbey in 1818. So the face looking out over the field is, in a real sense, an attempt at the actual man rather than a heroic invention. Knowing that changes how the bronze reads. It is a monument built with a scientist's caution inside a nationalist gesture.
Nearby you will find the Borestone, traditionally said to mark the spot where Bruce raised his standard before the fighting. Note the word traditionally. That association is tradition, not documented record, and the tour that brings you here is careful to say so rather than letting the legend harden into fact.
The one thing to understand standing here
If you take a single idea away from this field, make it this: the exact location and course of the Battle of Bannockburn are genuinely uncertain. The traditional site, the one marked by the Borestone and the Rotunda and the statue, is one candidate among several that historians have proposed. The commemorated ground is a place of memory and argument, not a surveyed battle map with the lines pinned down. The visitor centre beside the monuments was built in part precisely to address that uncertainty, using research and a digital recreation to show what is known and what is not.
This is why Bannockburn rewards a slow, unhurried visit rather than a quick photograph in front of the horse. The drama here is documented and real, a decisive victory that helped keep a kingdom independent. But the ground keeps its own counsel. You are standing on the best guess of centuries, honoured honestly, which is a rarer and more interesting thing than a certainty would be. Access to the site and the monuments is free, so you can linger as long as you like with no group behind you and no timetable pulling you on.
Where Bannockburn sits in the larger story
The field does not stand alone. It is the climax of a wider Stirling story that turned twice in a single generation. Seventeen years before Bruce won here, William Wallace and Andrew Moray had destroyed an English army at Stirling Bridge, in 1297, a few kilometres north. Between those two victories sits the quiet ground of Cambuskenneth Abbey, where a parliament met in 1326 and confirmed the royal succession. Bannockburn is the loudest ground of the three, but it is the last beat of a sequence, not an isolated event.
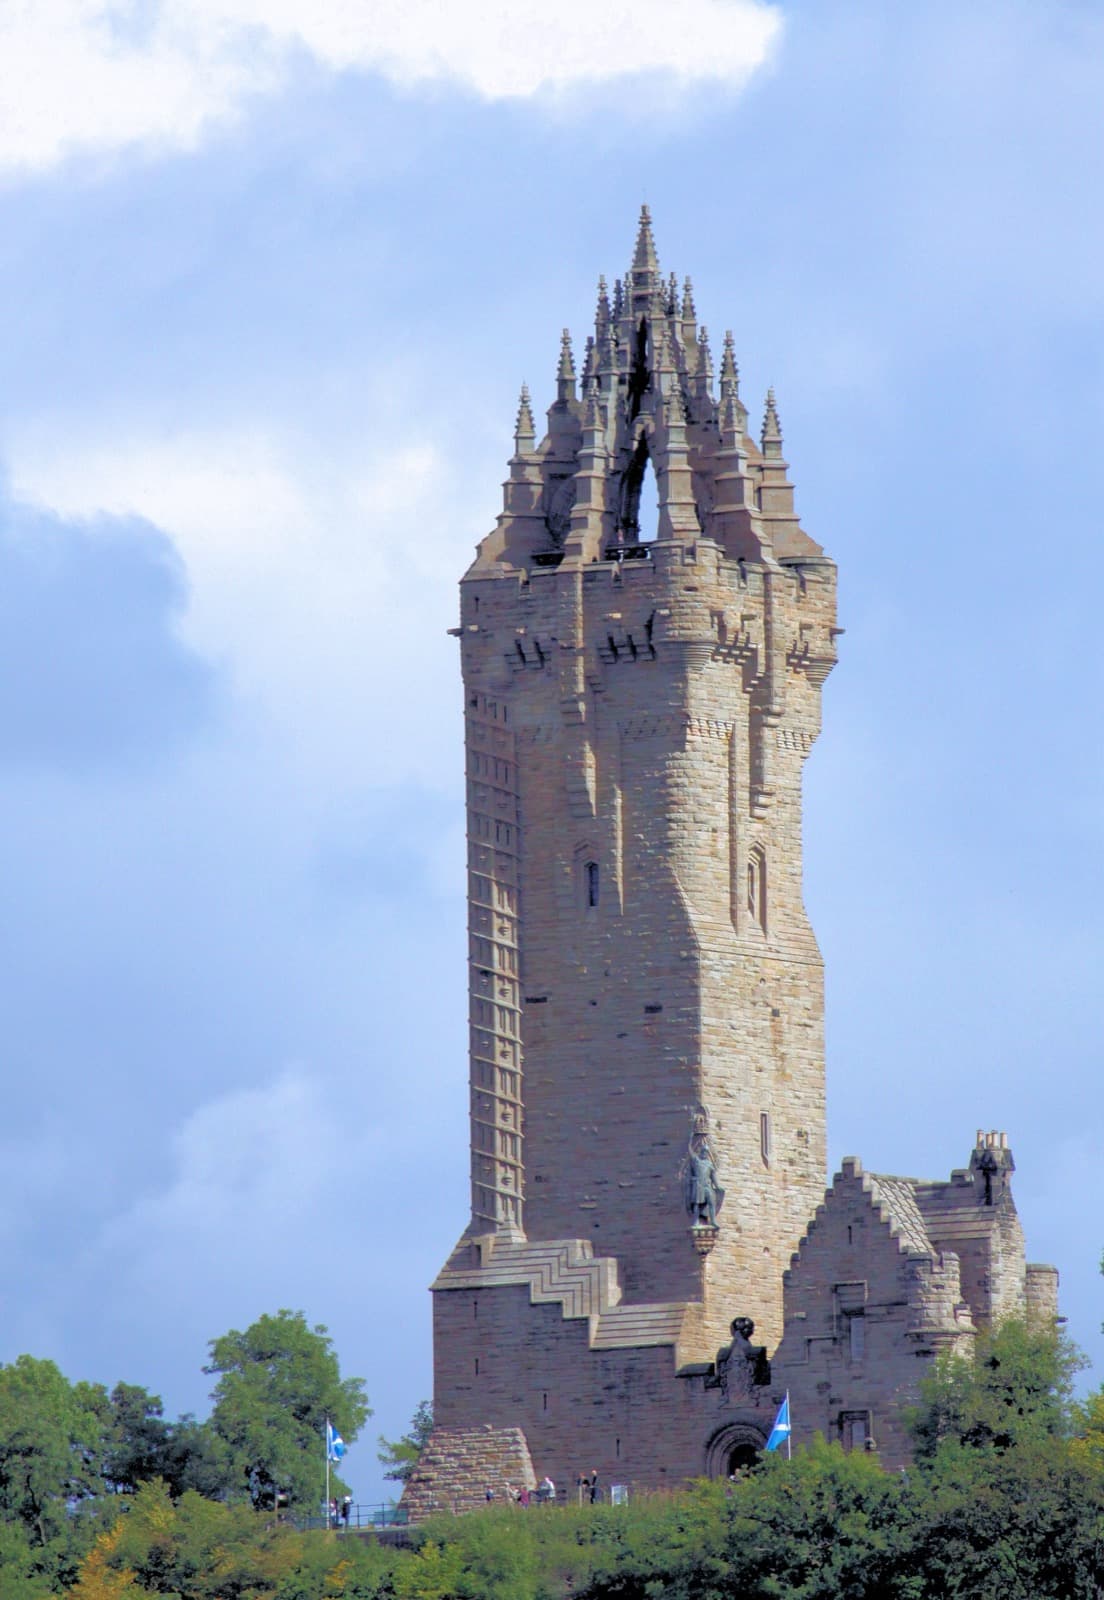
That is also why it belongs on a walking route rather than a single stop. Seeing the crossing Wallace held, then the Victorian tower raised to his memory, then the abbey where the politics were settled, and only then the field where Bruce won, lets the whole geography of the Wars of Independence resolve into a single legible landscape. If you are planning your visit, the Stirling walking tours hub lays out how these sites connect and how to move between them, and the broader Stirling city page sets the battlefield in the context of the castle town above it.
Walk it, told from the record
The Roamer self-guided audio tour Wallace and Bannockburn: The Wars of Independence puts the battlefield at the end of a dispersed loop of five stops, moving by short drives or local buses and then walking once you arrive at each site. The whole loop runs about three to four hours across roughly twelve kilometres, and the narration does at Bannockburn exactly what the monuments themselves cannot: it separates the historical Bruce and Wallace from their film legend, above all from Braveheart, which most visitors carry in their heads whether they mean to or not.
Standing on the field with that distinction clear in your ears is the most honest souvenir this ground can give. You leave knowing the difference between what happened here and the story the films tell. Walk it at your own pace, read the field in silence, and let the record speak louder than the myth.
Sources
- National Trust for Scotland, Bannockburn commemorative monuments page. Official custodian's account of the Rotunda, the Bruce statue, and the battlefield site.
- Wikipedia, "Equestrian statue of Robert the Bruce, Bannockburn." Details on sculptor Charles d'Orville Pilkington Jackson, the 1964 unveiling, and the skull-based modelling of the head.
- Wikipedia, "Battle of Bannockburn." Battle dates, the de Bohun single combat, the disputed casualty figures, the Treaty of Edinburgh and Northampton, and the ongoing historical uncertainty over the exact battlefield location.
- Roamer tour transcript and fact audit for "Wallace and Bannockburn: The Wars of Independence" (stop four), the primary fact-checked source for the dates, figures, and monument history summarized here.
Ready to experience it?
Wallace & Bannockburn: The Wars of Independence
210 min · 12 km · easy
More from Stirling
Explore more at your own pace.
One Day in Stirling: A Walkable Castle-to-Battlefield Itinerary
Stirling Travel Guide: Days, Transport, Fees, and Safety
Stirling: The Rock That Held Scotland
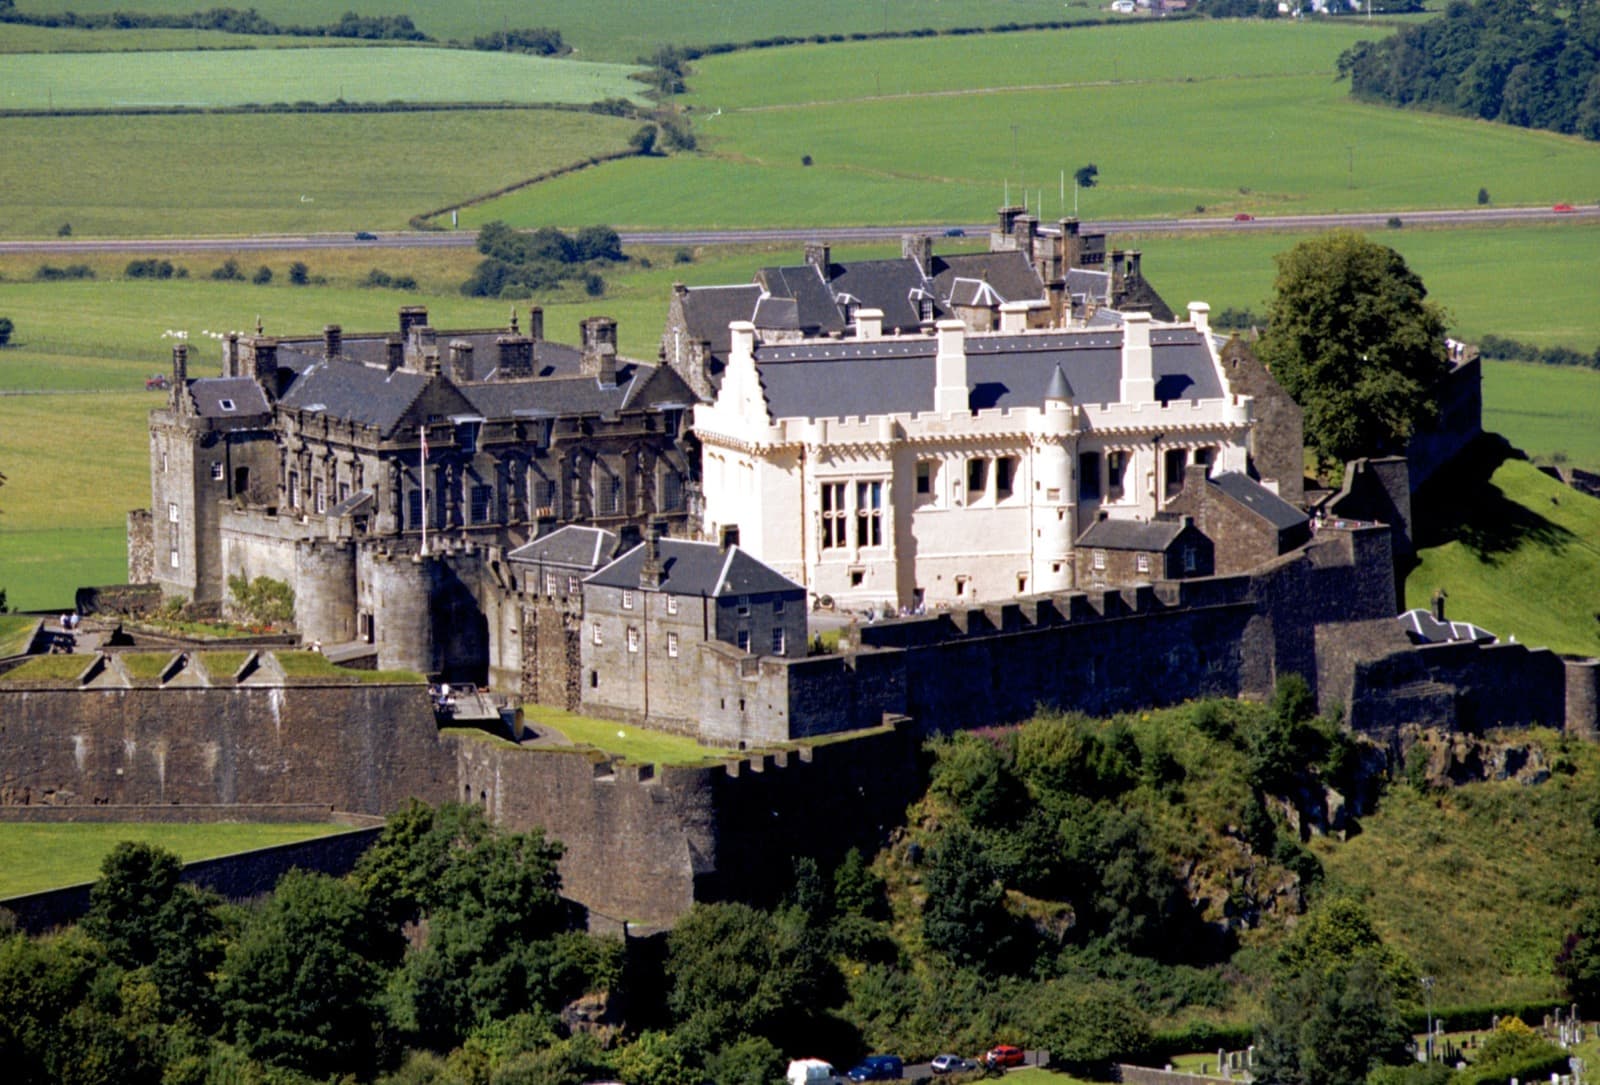
Stirling Castle and the Walk Down a Royal Burgh
The Wallace Monument and the Ground Two Battles Were Fought to Hold